Usage
Once you have installed it, you can start to segment the images directly from your bash.
The input --dir is the path of the dir containing the DICOM series.
Please ensure that the folder contains only one series.
If the directory is a nested dir, the script will find automatically the sub-dir containing the DICOM series.
Quick start
python -m MRIsegm --dir='/path/to/input/series/'
where: --dir is the path of the directory containing the DICOM series (required).

Options
--model
Name of the model’s weights saved in the weights dir.
python -m MRIsegm --dir='/path/to/input/series/' --model='model_name'
- notes:
model_nameset as default:efficientnetb0_BTC=4_full_150E_OPT=adam_LOSS=dice_loss_plus_1binary_focal_lossRemember to specify the name without
_weights.h5you can also use your own model’s weight saving the weights in the weights dir as
model_name_weights.h5.warning: You need to save also the architecture as
model_name.jsonfile in the same dir.
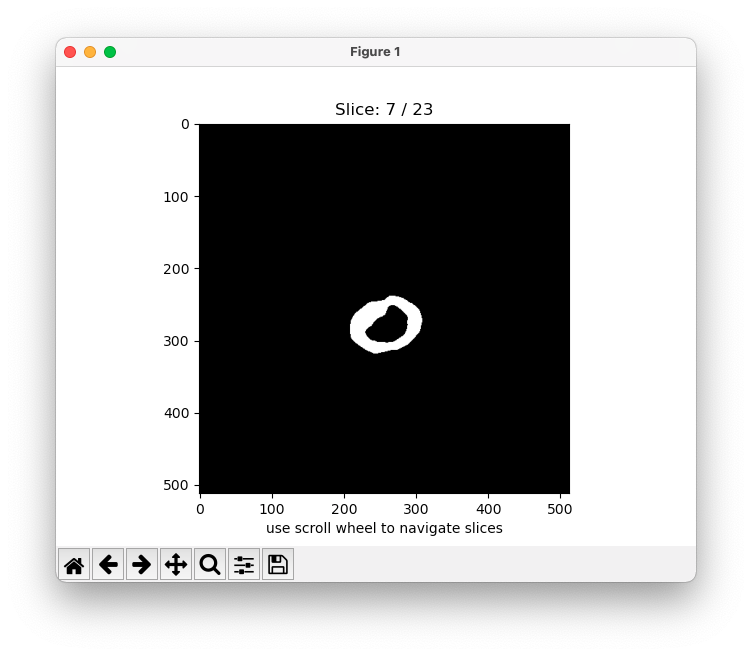
--mask
When enabled plot the predicted binary [0,1] mask of each slice.
python -m MRIsegm --dir='/path/to/input/series/' --mask
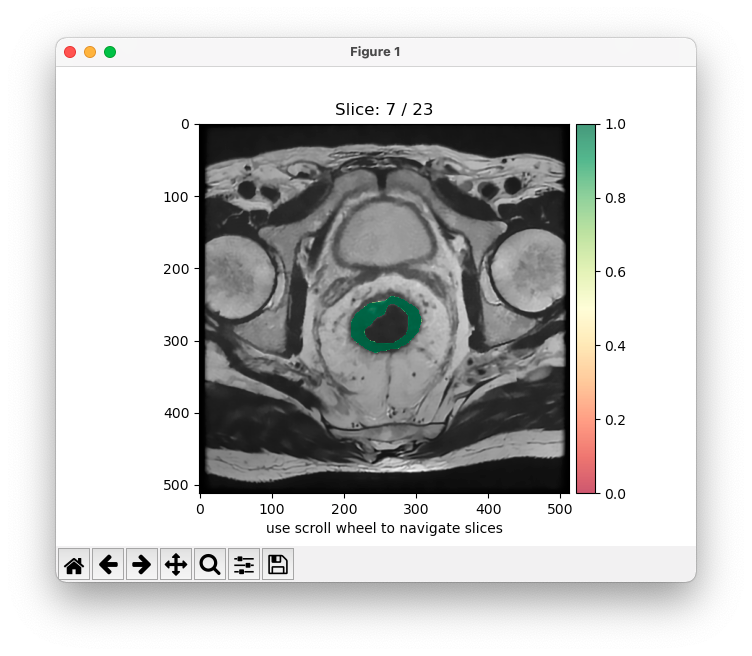
--density
When enabled plot the predicted probability map between 0 and 1 of each slice over the original image.
python -m MRIsegm --dir='/path/to/input/series/' --density
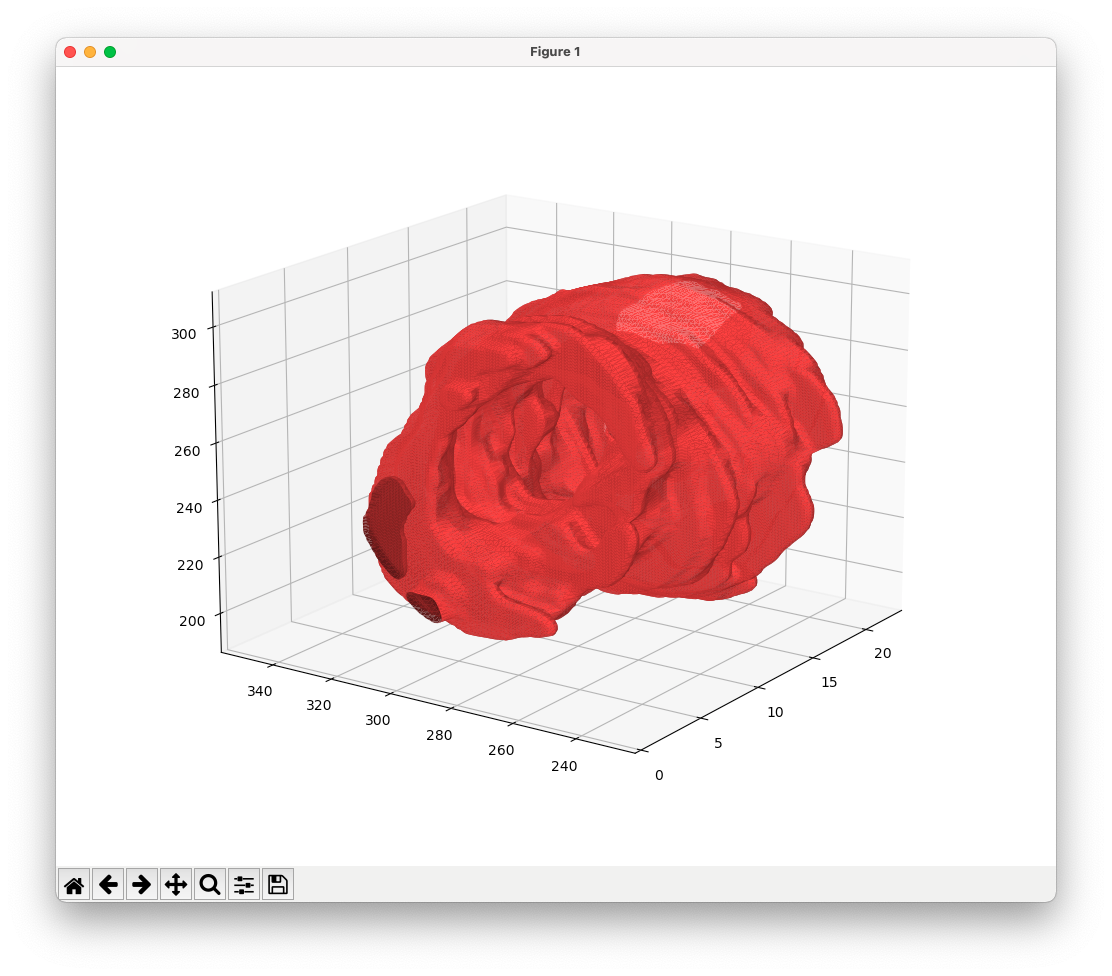
--3D
When enabled plot the a 3D mesh of the segmented areas.
python -m MRIsegm --dir='/path/to/input/series/' --3D